
Interlocking Driveway Installation Guide for Homeowners
- preciousralph89
- Feb 13
- 8 min read
Planning a driveway upgrade in Etobicoke often brings questions about where to start and how to guarantee lasting results. A well-built interlocking driveway not only boosts curb appeal but also increases property value for Canadian homeowners. Each step in this DIY guide emphasizes the importance of a solid base and proper soil composition, making your project more durable and visually impressive while keeping maintenance manageable.
Table of Contents
Quick Summary
Key Point | Explanation |
1. Assess site conditions thoroughly | Evaluate soil, drainage, and landscape to determine optimal conditions for your new driveway installation. |
2. Create a solid base through excavation | Excavate carefully to establish a stable foundation, removing unstable soil and achieving a consistent depth. |
3. Install edge restraints for stability | Use appropriate edge restraints to prevent lateral movement of pavers, enhancing your driveway’s durability. |
4. Lay pavers with precision and technique | Follow systematic methods for placing pavers to ensure alignment and reduce gaps for a professional look. |
5. Commit to regular maintenance checks | Conduct seasonal inspections and maintenance to prolong the life of your driveway and maintain its appearance. |
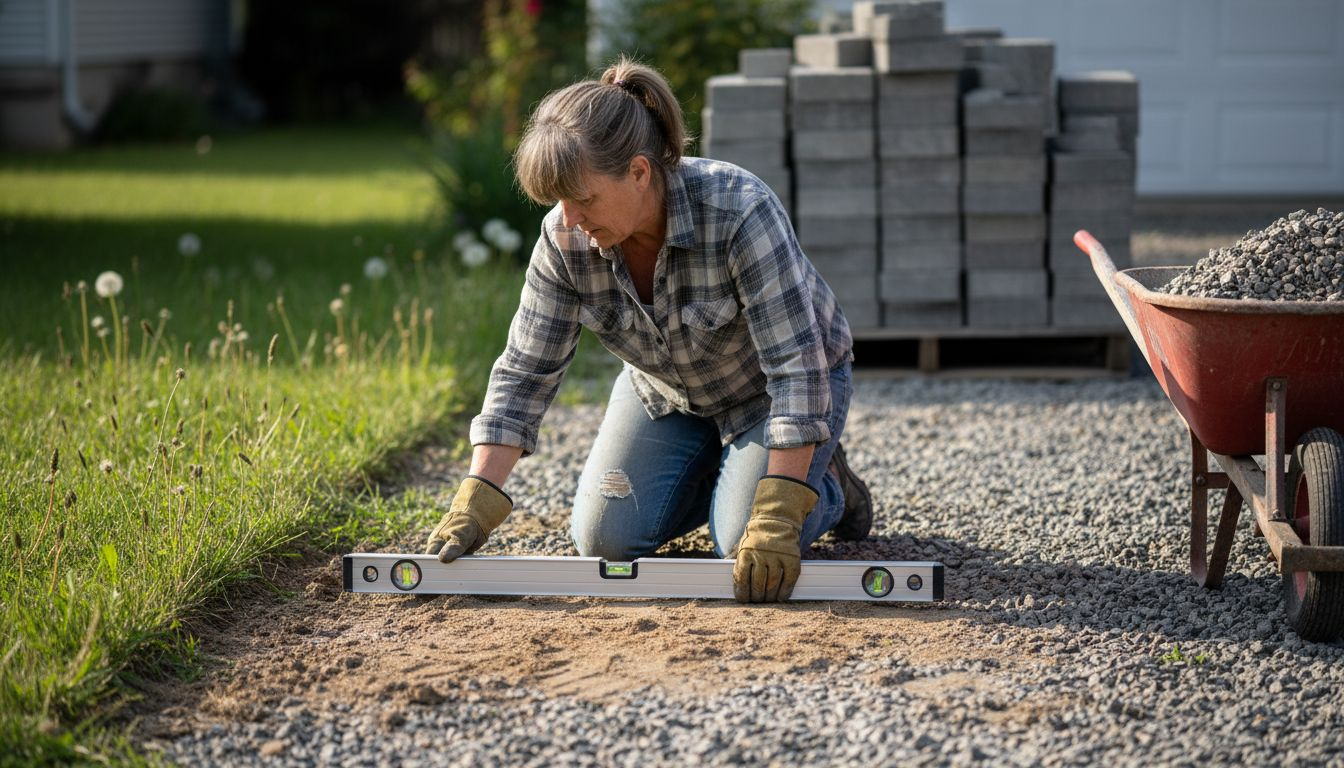
Step 1: Assess and prepare your driveway site
Preparing your driveway site properly is crucial for a successful interlocking installation that will look great and last for years. Your first task involves carefully evaluating the current landscape and ensuring optimal conditions for your new driveway.
Begin by thoroughly assessing your existing site conditions. This means examining the soil composition, current drainage patterns, and overall landscape topography. Site assessment techniques.pdf) require careful attention to several key factors:
Measure the current ground elevation
Check soil stability and compaction levels
Evaluate existing drainage infrastructure
Identify potential obstacles or underground utilities
Next, focus on soil preparation to create a stable foundation. Your goal is achieving a compacted subgrade that provides maximum support for the interlocking pavers. This involves removing existing surfaces, excavating to the proper depth, and creating a level base. Professional recommendations suggest:
Remove existing driveway materials
Excavate to a minimum depth of 12-15 centimetres
Confirm soil is dry and stable before proceeding
Use mechanical compaction tools to achieve 95% relative density
A properly prepared site is the foundation of a durable and attractive interlocking driveway.
Pro tip: Rent professional-grade compaction equipment and take time to carefully level your site, as rushed preparation can lead to costly future repairs.
Step 2: Excavate and establish a solid base
Establishing a rock-solid foundation is the most critical phase of your interlocking driveway installation. This step transforms your current ground into a stable, durable surface that will support your new pavement for decades.
Subgrade preparation techniques require precision and careful attention to detail. The excavation process involves removing existing materials and creating a uniform base that can withstand vehicle loads and environmental challenges. Your primary objectives include:
Remove all organic materials and topsoil
Create a consistent excavation depth of 30-40 centimetres
Ensure proper slope for water drainage
Eliminate any soft or unstable soil sections
The base construction demands strategic layering of materials to create maximum stability. Granular base layers are crucial for distributing weight and preventing future settlement. Professional hardscaping recommendations suggest:
Add a 15-centimetre layer of crushed limestone or granite
Compact each layer thoroughly using mechanical compactors
Use laser levels to confirm perfect grade consistency
Verify base material meets local engineering specifications
Proper base construction is the invisible foundation that determines your driveway’s long-term performance and durability.
Pro tip: Rent a plate compactor and make multiple passes over each layer, ensuring uniform density and minimizing future settling.
Step 3: Install edge restraints and bedding sand
With your base prepared, you’re now ready to install the critical components that will keep your interlocking driveway stable and aligned. Edge restraints and bedding sand are the unsung heroes that prevent movement and provide a smooth, professional finish.
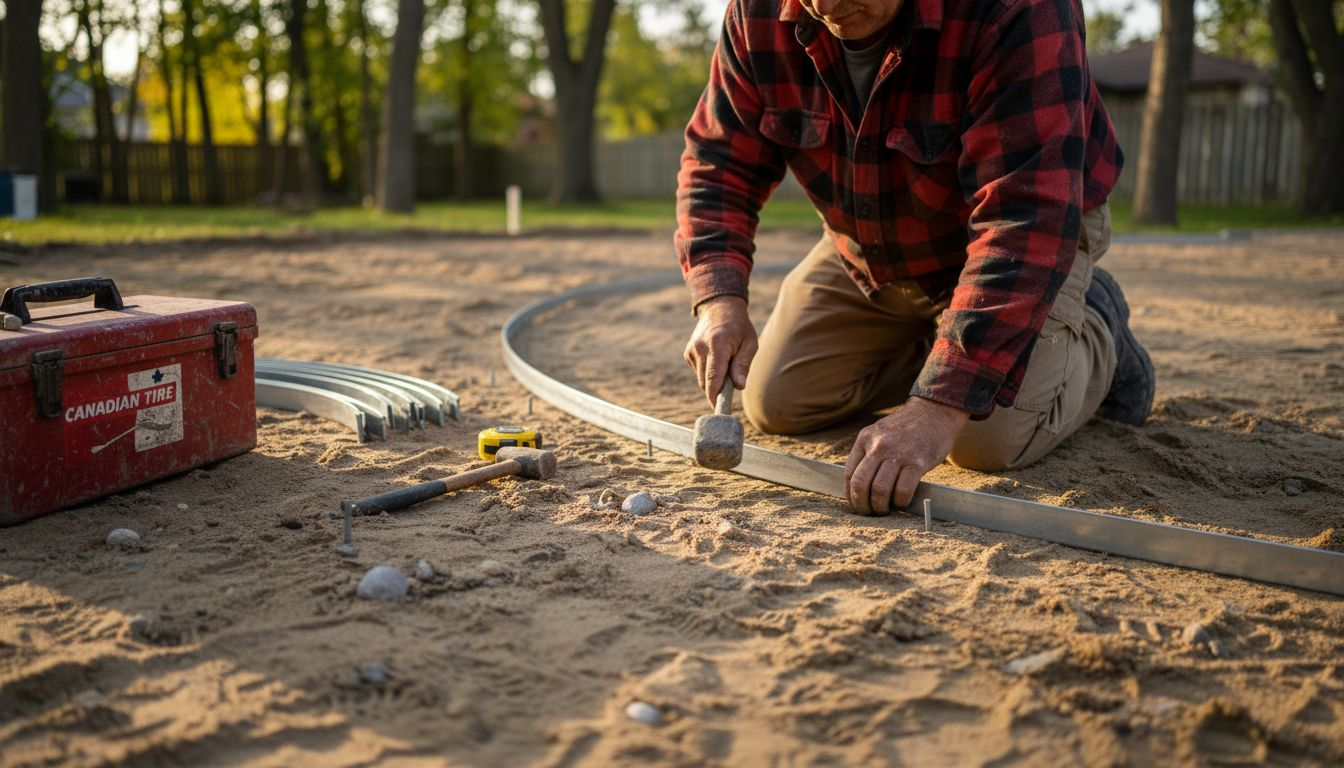
Edge restraint selection.pdf) requires careful consideration to ensure long-term driveway integrity. These structural elements prevent lateral movement and maintain the precise alignment of your pavers. Your edge restraint options include:
Here’s a quick comparison of common edge restraint options for interlocking driveways:
Edge Restraint Type | Durability | Visual Appeal | Installation Difficulty |
Precast concrete curb | Very high | Traditional look | Moderate |
Aluminium edging | High | Sleek, minimal | Easy |
Plastic edging | Moderate | Subtle | Very easy |
Poured concrete | Excellent | Customizable finish | High |
Steel stake | High | Industrial style | Moderate |
Precast concrete curbs
Aluminium edge restraints
Plastic landscape edging
Poured concrete borders
Steel mounting stakes
For the bedding sand layer, precision is paramount. This crucial 2-3 centimetre layer provides a smooth, supportive foundation for your pavers. Professional installation involves:
Select clean, well-graded sand
Spread sand evenly using a screed board
Maintain consistent 25-millimetre thickness
Avoid compacting the sand before laying pavers
The quality of your edge restraints and bedding sand directly impacts the longevity and performance of your interlocking driveway.
Pro tip: Use a straight piece of aluminium tubing as a screed to achieve perfectly level sand layers with minimal effort.
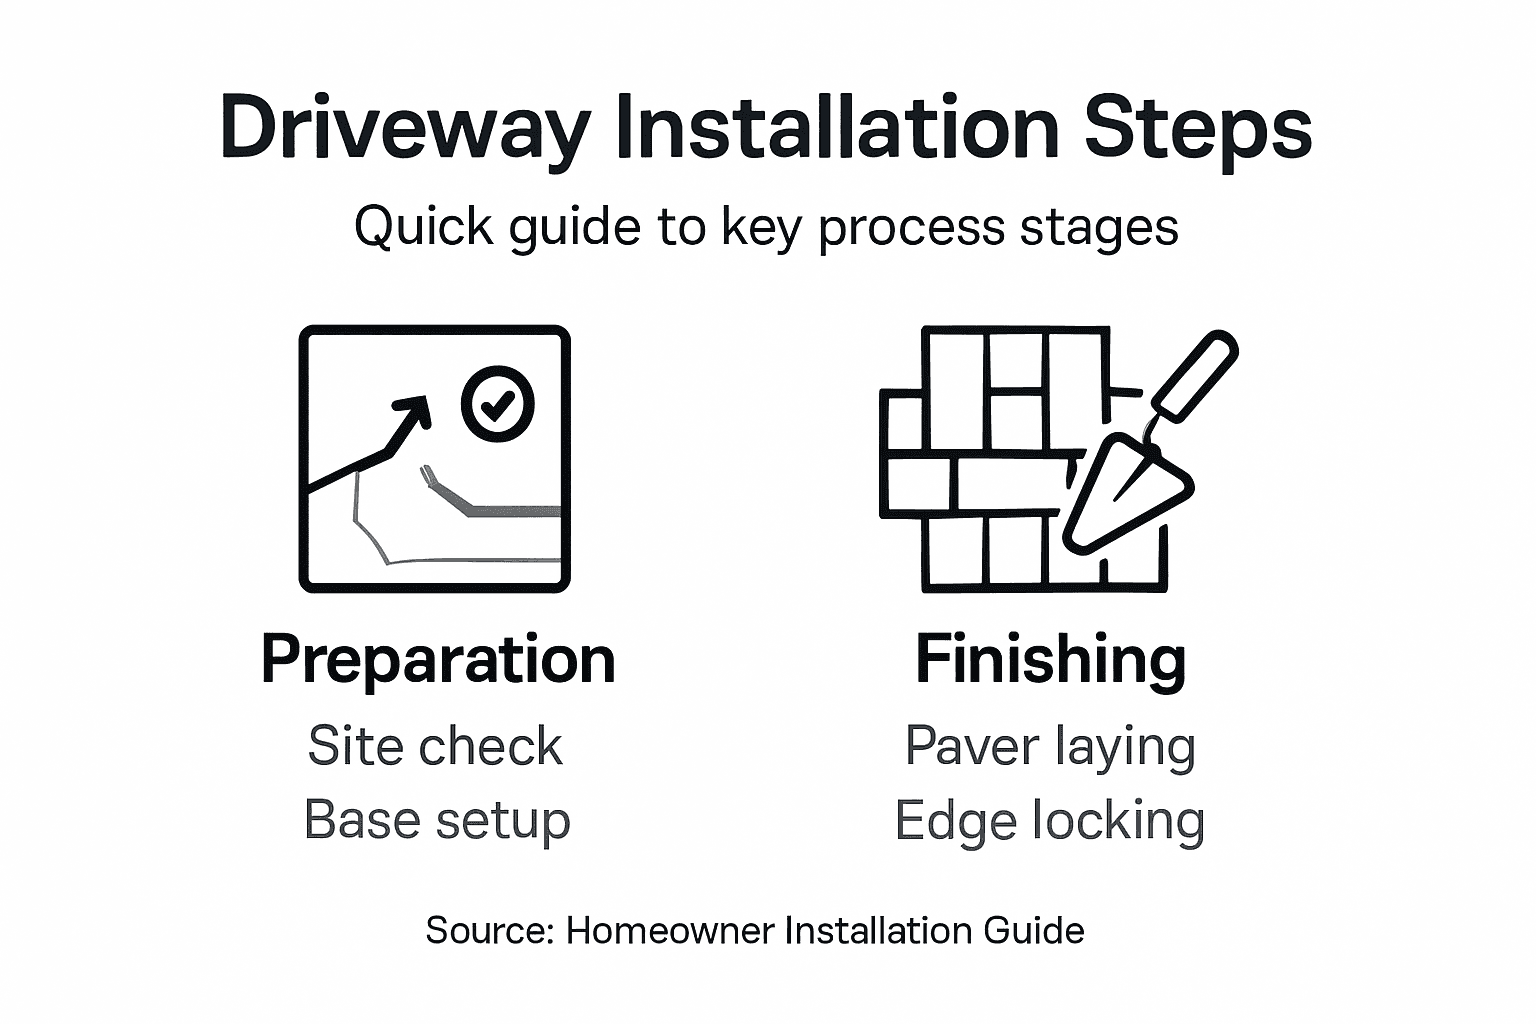
Step 4: Lay interlocking pavers with precision
With your bedding sand perfectly prepared, it’s time to transform your driveway by carefully placing each paver. This stage requires patience, attention to detail, and a systematic approach to ensure a flawless finish.
Paver installation techniques demand careful planning and methodical execution. Begin by laying pavers from one corner, working systematically across the surface to maintain consistent alignment. Your key strategies include:
Start at the straightest edge of your driveway
Place pavers with minimal gaps between units
Use a rubber mallet for gentle adjustments
Maintain a consistent 3-5 millimetre joint width
Check alignment frequently with a string line
Professional installers recommend specific techniques for precision paver placement:
Lay pavers at a 45-degree angle to your base edges
Use spacer tools to ensure uniform joint spacing
Cut perimeter pavers using a wet saw for clean edges
Work in small sections to maintain consistent patterns
Precision in paver placement determines the visual appeal and structural integrity of your entire driveway.
Pro tip: Keep a few extra whole pavers on hand for potential replacements and intricate cutting around edges and curves.
Step 5: Compact and lock pavers for durability
Now comes the critical moment that transforms your carefully laid pavers into a robust, unified surface. Compaction is the key process that ensures your driveway will withstand years of vehicle traffic and environmental challenges.
Paver compaction techniques demand precision and careful execution. Professional installers follow a strategic two-stage approach to lock your pavers securely in place. Your essential steps include:
Use a vibratory plate compactor with rubber mat
Make multiple passes across the entire surface
Compact at 45-degree angles to initial paver placement
Maintain consistent pressure across all areas
Avoid compacting within 1 metre of unfinished edges
The final locking process requires meticulous attention:
Spread polymeric joint sand evenly across the surface
Use a plate compactor to vibrate sand into paver joints
Sweep excess sand to ensure complete joint filling
Repeat compaction to settle sand and lock pavers
Proper compaction is the invisible foundation that transforms individual pavers into a seamless, durable surface.
Pro tip: Rent a plate compactor with adjustable weight and vibration settings to accommodate different paver sizes and materials.
Step 6: Inspect and maintain your new driveway
Your interlocking driveway represents a significant investment that requires consistent care to preserve its beauty and functionality. Regular maintenance ensures your pavers remain in top condition and continue to enhance your property’s aesthetic appeal.
Routine maintenance practices are essential for long-term durability. Homeowners should develop a systematic approach to monitoring and caring for their new surface. Your key maintenance strategies include:
Refer to this table for recommended inspection and maintenance actions throughout the year:
Season | Key Inspection Focus | Maintenance Action |
Spring | Check for winter heave | Sweep and re-level sand |
Summer | Watch for weed growth | Remove weeds, replenish sand |
Autumn | Assess for cracks/gaps | Clean debris, fill joints |
Winter | Look for frost damage | Avoid de-icing chemicals |
Conduct quarterly visual inspections
Clean surface regularly with gentle sweeping
Remove weeds from joints promptly
Check for uneven settling or movement
Replenish joint sand annually
Professional maintenance recommendations suggest:
Use a soft-bristled brush for regular cleaning
Apply polymeric sand to joints every two years
Avoid harsh chemical cleaners
Address minor issues before they become major repairs
Consistent, proactive maintenance is the secret to preserving your driveway’s pristine appearance and structural integrity.
Pro tip: Take photographs during initial inspections to help track subtle changes in your driveway’s condition over time.
Transform Your Driveway with Expert Interlocking Installation
Facing challenges like uneven soil, poor drainage, or struggling with precise paver placement as discussed in the “Interlocking Driveway Installation Guide for Homeowners” can turn your dream driveway into a frustrating project. Achieving a durable, beautiful driveway requires professional-grade site preparation, expert base installation, and skilled paver laying to ensure longevity and curb appeal. Avoid common pitfalls such as inadequate compaction or improper edge restraints that may lead to costly repairs or settling.
At Interlocking Etobicoke, we bring over 20 years of expertise to every project, delivering reliable solutions from soil assessment to the final joint locking. Our team ensures your driveway not only enhances your home’s aesthetic but stands strong against Canadian weather and heavy vehicle use. Experience the difference of quality workmanship, from perfect excavation to precise paver alignment and maintenance guidance tailored for Etobicoke, North York, and Toronto residents.

Ready to transform your outdoor space with a driveway built to last? Visit Interlocking Etobicoke today to schedule a consultation. Explore our expert services and start your journey toward a stunning, worry-free interlocking driveway designed for lasting beauty and performance.
Frequently Asked Questions
How do I assess my driveway site for interlocking installation?
Begin by checking the soil composition, drainage patterns, and landscape topography. Measure the ground elevation and identify any underground utilities or obstacles that may affect your installation.
What is the proper excavation depth for an interlocking driveway?
You should excavate to a minimum depth of 30-40 centimetres to create a stable base for your driveway. Ensure you remove all organic materials and achieve a consistent depth across the area.
How do I choose the right edge restraints for my driveway?
Consider durability, visual appeal, and installation difficulty when selecting edge restraints. Options include precast concrete curbs, aluminium edging, and poured concrete, each offering different benefits depending on your desired style and ease of installation.
What is the purpose of bedding sand in interlocking driveway installation?
Bedding sand provides a smooth and supportive layer for pavers, ensuring they are aligned correctly. Spread a 2-3 centimetre layer evenly before laying pavers to create a professional finish.
How often should I inspect and maintain my interlocking driveway?
Conduct quarterly visual inspections to check for weeds, uneven settling, or any gaps. Regular maintenance, such as cleaning debris and replenishing joint sand yearly, helps preserve the appearance and integrity of your driveway.
What tools do I need for installing interlocking pavers?
Essential tools include mechanical compaction equipment, a rubber mallet for adjusting pavers, and a wet saw for cutting edges. Ensure you also have a screed board for leveling sand and measuring tools to maintain alignment.
Recommended
Comments